

Description
Elevate Your Space with Ultra Metallic: The Ultimate Epoxy Flooring Solution
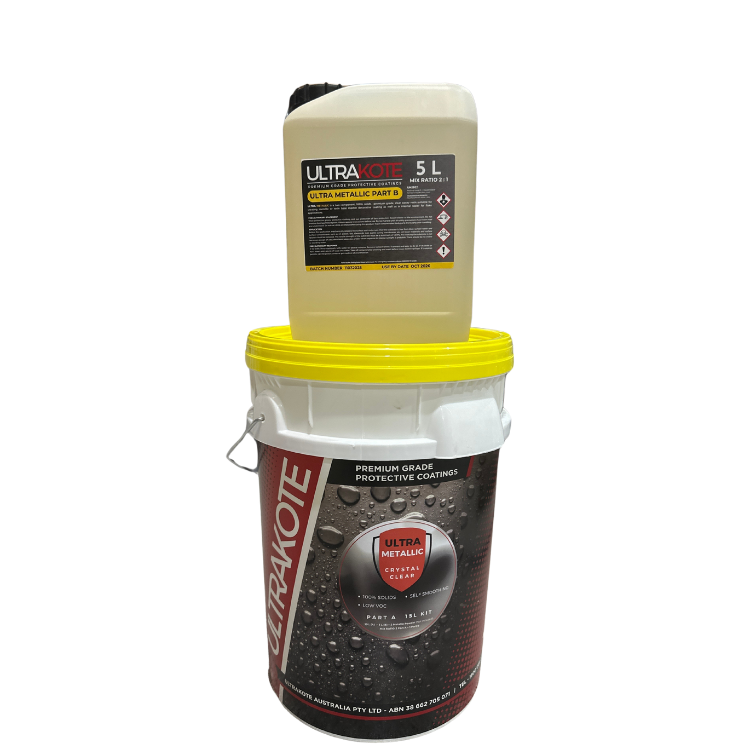
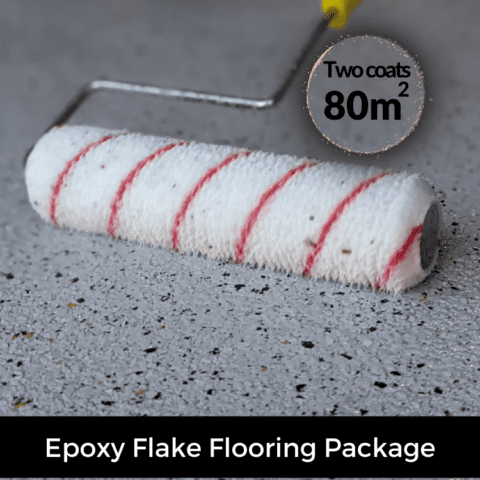
Discover the transformative power of Ultra Metallic, a high-performance, two-component, 100% solids, self-leveling epoxy flooring resin. Engineered to create breath-taking metallic floors or provide a robust indoor epoxy topcoat over flake floors, Ultra Metallic stands out for its exceptional adhesion, high-gloss finish, and straightforward application. It’s the premium choice for residential, commercial, and industrial projects seeking a touch of elegance and durability.
Key Benefits
- Self-Leveling Formula – Ensures a smooth, seamless finish.
- 100% Solids Epoxy – No solvents, providing a high-build and durable surface.
- Versatile Use – Perfect for metallic flooring systems and flake flooring topcoats.
- High Gloss & Clarity – Enhances decorative effects while maintaining a sleek, professional look.
- Superior Adhesion – Bonds effectively to concrete, timber, and properly prepared surfaces.
- Scratch & Chemical Resistance – Designed for high-traffic and industrial environments.
- UV & Moisture Resistant – Long-lasting and protective against wear and discoloration.
- Easy to Apply – Ideal for professionals and skilled DIYers.
How to Apply Metallic Epoxy Flooring – Step-by-Step Guide
Can I Apply Metallic Epoxy as a DIY Project?
Yes, but metallic epoxy can be challenging to work with, especially over large areas. For best results, practice on a small section before committing to a full floor. No two metallic floors will look exactly alike, so expect a unique, artistic result.
Team Setup for Best Results:
- One person for mixing the epoxy.
- One person for cutting in edges.
- One person for spreading with a squeegee.
- One person for back-rolling and applying solvent.
Important Notes:
- Do NOT apply Ultra Metallic if temperatures exceed 25°C, as this can cause bubbling and curing issues.
- Store in a cool environment before and during application.
Application Steps
-
Surface Preparation
- Repair cracks & imperfections using Concrete Bog. Sand down high spots once cured.
- Vacuum thoroughly to remove dust and debris.
-
Priming the Floor
- Apply one coat of Ultra Primer mixed with a Black or Charcoal Tint Pack.
- Product Needed: 5 kits (reserve 2L of Part A + 1L of Part B for patching).
-
Preparing for the Metallic Coat
- Patch any primer imperfections using a mix of leftover primer + Sikadur 513 Powder as a filler.
- Sand the primed surface with 150-grit sandpaper.
- Vacuum and mop to remove all dust.
-
Applying the Metallic Epoxy Coat
- Required Product: 10–12 kits of Ultra Metallic (coverage varies with thickness).
- Mixing Instructions:
- Mix 3 Silver Pearl pigment packs per kit of Part A Ultra Metallic. Stir for two minutes.
- If using highlights, set aside 10% of your resin—less is more!
- Application Steps:
- Mix one kit at a time, adding 1L of GP Thinners per kit to reduce bubbles.
- Pour the main color onto the floor and use spiked shoes and a flat magic squeegee to spread evenly. (Do NOT use a notched squeegee as it leaves lines.)
- Each kit covers 15–20 sqm max—stretching it too far will create an uneven finish.
- If using highlights, mix 1–1.5L at a time and apply sparingly.
- A second person should back-roll for a smooth, blended effect.
- Continuous Application:
- Keep mixing and pouring continuously to avoid colour changes and dry spots. If bubbles appear in the wet product, lightly spray solvent or use a low-pressure air blower to remove them.
- Keep mixing and pouring continuously to avoid colour changes and dry spots. If bubbles appear in the wet product, lightly spray solvent or use a low-pressure air blower to remove them.
Optional: Applying a Clear Top Coat
If you love the natural metallic finish, you can leave it as is. However, for added protection, apply a polyurethane or Polyaspartic clear coat.
- If applying a clear coat:
- Sand the surface with 220-grit sandpaper.
- Vacuum and mop to remove dust.
- Apply either polyurethane (easier to apply) or Polyaspartic (stronger but more challenging to apply).
- Note: Only apply a clear coat if necessary, such as for:
- Extreme UV exposure.
- Unsatisfactory metallic finish.
- Debris or other imperfections.
Shopping List – What You Need
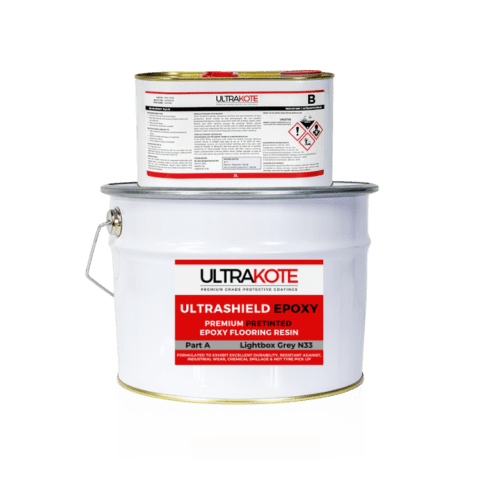
Main Products & Accessories
- Ultra Primer
- 1 pigment paste per kit of Ultra Metallic
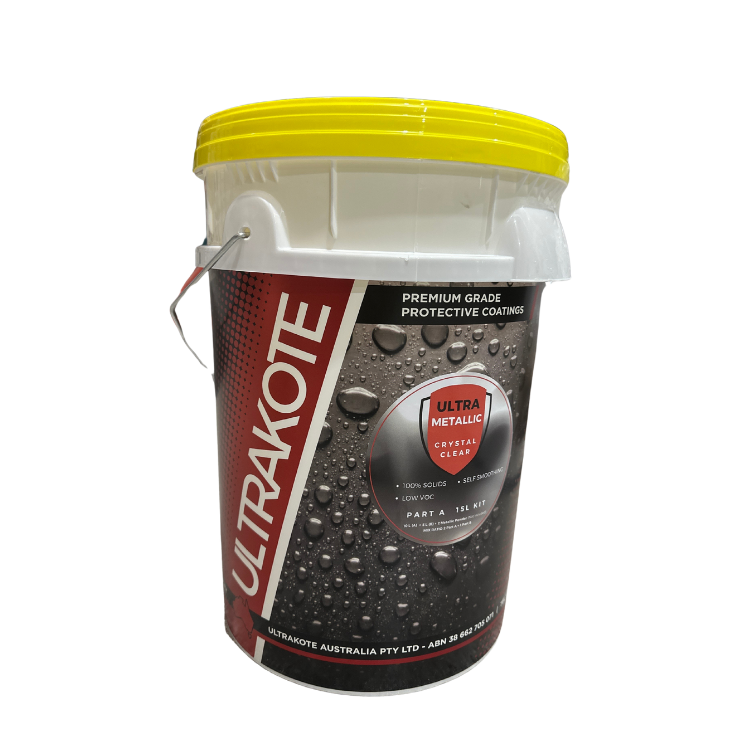
- Ultra Metallic 15L Kits (Coverage: Up to 20SQM per kit)
- 3 Metallic Powder packs per kit of Ultra Metallic
- Magic Squeegees
- Spike Shoes
- 3 x 460mm Trays (for primer, metallic, and polyurethane)
- 3 x 460mm Roller Frames
- 6 Brushes
- 1 Bag of White Rags
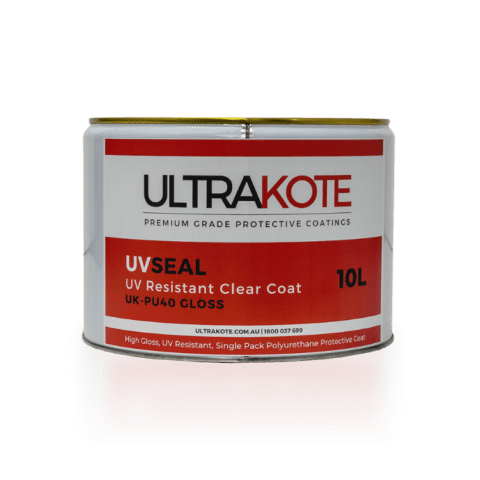
If Applying a Clear Coat:
- UVSeal (Polyurethane)
- Pure Guard (Polyaspartic)
- Solvent & Concrete Bog (Available at Bunnings)
Experience the Difference with Ultra Metallic
Achieve a truly unique and durable floor with Ultra Metallic. Its superior formulation and stunning finish will transform any space into a masterpiece. Invest in quality, invest in Ultra Metallic.
To ensure the optimal outcome, we recommend reviewing the full product details, including application instructions and safety guidelines, prior to commencing your project. Request a quote or contact us today to learn more about how Ultra Metallic can bring your flooring vision to life.


Reviews
There are no reviews yet.